Putting $10,000 into a high-yield CD can maximize your earning potential. But keep these factors in mind before locking up your funds.
If you're considering or have already installed solar panels and live in Washington State, there may be some incentives and tax breaks for this and more to look into.
In states with deregulated energy markets, finding a renewable energy supplier is fairly simple. The nuts and bolts of those plans are not.
We'll tell you when to expect your Supplemental Security Income money in May and why you're getting two checks.
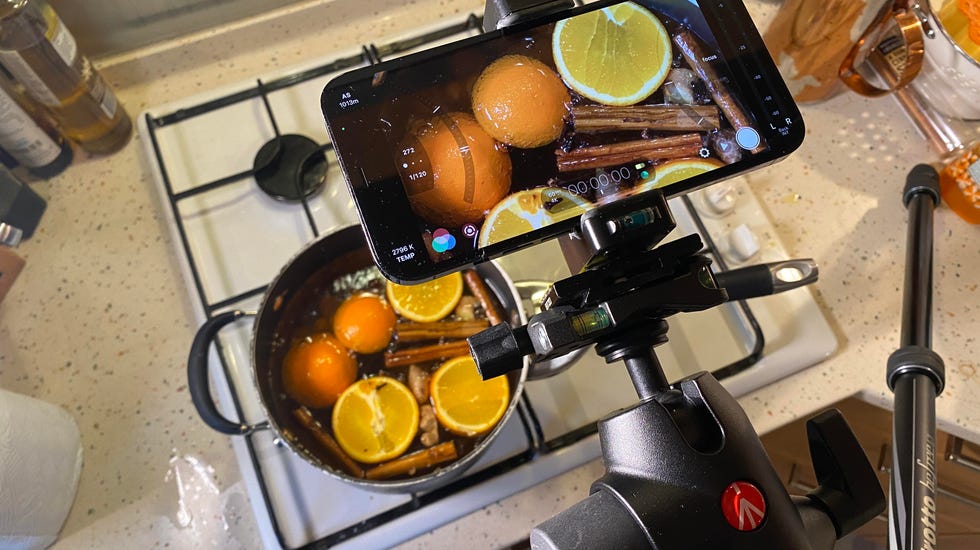
With just your iPhone, you can take gorgeous long exposures of rivers and waterfalls -- no extra apps needed. Here's how.
Samsung's latest phones have cool AI features, but they're not all enabled by default.
A few important mortgage rates increased. Here's what to expect if you're in the market for a home loan.
Several benchmark refinance rates climbed this week, so it might be worth waiting.