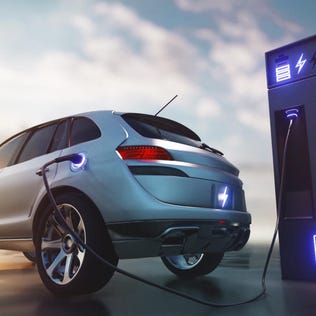
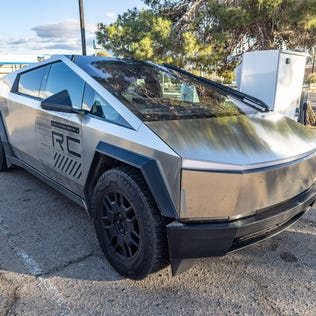
Tesla's Cybertruck recall put EV recalls back in the spotlight. Here's how to know whether such recalls are critical or just inconvenient.
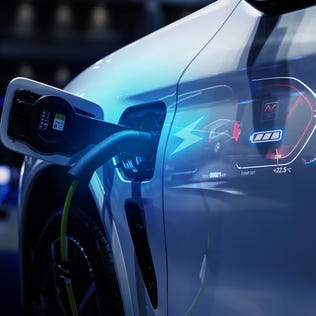
Electric vehicle charging locations are getting a boost on Google Maps, thanks to AI.
Swift's surprise double album is already breaking records as the most streamed album in a single day on Spotify this year.
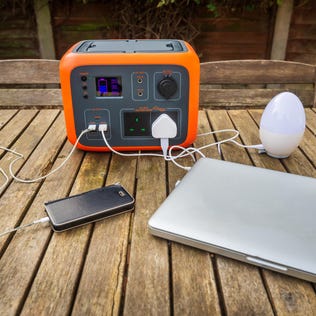
Do you just need a small boost of electricity, or are you looking for a power source to last for days on end? Answering this question can help you decide.
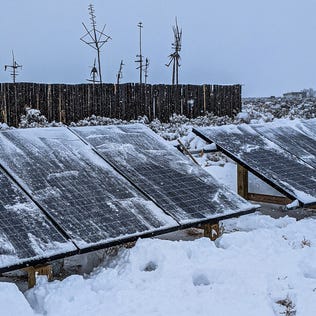
While providing me 100% energy independence for my off-grid home, solar panels demystified the enigma of electricity for me and increased my understanding of the movements of the Earth itself.
If you're still working on your taxes and need help, you can call the IRS, but you might experience long wait times.
The recall is another bump in the road for Elon Musk's polarizing electric vehicle.
Homeseekers are holding their breath for cheaper home loans, but mortgage rates are only getting more expensive.