We'll tell you when to expect your Supplemental Security Income money and why you're getting two checks.
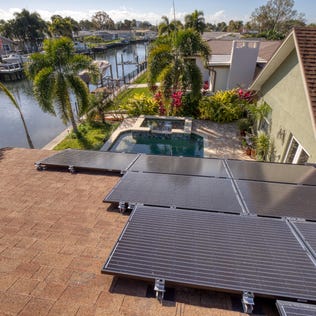
Learn how the state of Florida incentivizes its residents to go solar.
Looking to buy the best sunglasses online? Here's where to find them and how to get a discount at some of the most popular online retailers for prescription sunglasses.
A deregulated market means Ohioans could save a lot of money by shopping around on their energy bills, if they stay informed and choose carefully.
Petal lost its luster after downgrading some customers. Here's how the acquisition could affect them.
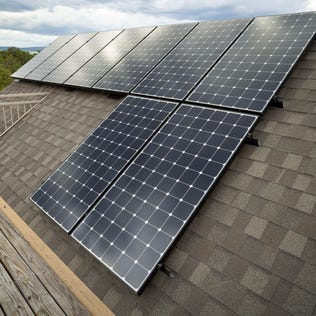
Not sure how many panels you need to hit your energy goals? This formula will help you calculate it.
No matter what kind of stovetop you have, we'll show you how to keep it clean.
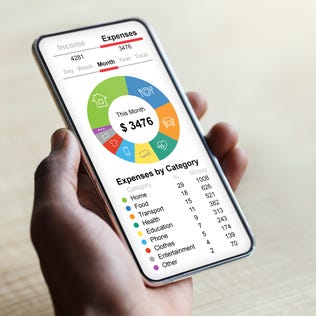
If Mint's disappearance left you needing a new budgeting app, this one is worth checking out.